Your nighttime routine is the one that actually changes your skin. During the day, skincare is mostly about protection — sunscreen, antioxidants, a barrier against cold wind. At night, with no makeup, no sun, and no pollution to fight, your skin switches into repair mode, and the products you apply get hours of uninterrupted time to work.
In winter, that matters even more. Cold air outside and heated, dry air inside pull moisture out of your skin all day, so by evening your barrier is already stressed. The right nighttime order — and a few winter-specific swaps — can be the difference between waking up with calm, soft skin and waking up tight, flaky, and irritated.
The good news: a good PM routine does not need ten steps. For most beginners, five or six, applied in the right order, beat a long routine applied in the wrong one. Here is the order, why it works, and how to adjust it for winter.
The golden rule: thinnest to thickest
Almost every PM routine follows one rule: apply products from thinnest texture to thickest. Watery serums go on first, so they can sink into clean skin. Rich creams and oils go on last, so they can seal everything underneath in.
The one exception is sunscreen — and since this is a nighttime routine, you can forget about it entirely. That alone makes PM routines simpler than morning ones.
The full beginner order is:
1. Makeup remover / first cleanse (if you wore makeup or sunscreen)
2. Gentle cleanser (second cleanse)
3. Treatment (one active, like a retinoid or exfoliating acid — not every night)
4. Hydrating serum or essence (optional but very helpful in winter)
5. Eye cream (optional)
6. Moisturizer
7. Face oil or occlusive layer (winter-only, for dry skin)
8. Lip mask
You do not need all eight steps. Steps 1, 2, and 6 are the core. Everything else is an add-on you introduce one at a time, only when your skin is ready for it.
Quick-compare: the PM routine at a glance
| Step | What it does | Winter swap | Skip it if... |
|---|---|---|---|
| First cleanse (oil/balm) | Dissolves makeup, sunscreen, and grime | Use a balm instead of a micellar water — less stripping | You wore nothing on your face all day |
| Gentle cleanser | Cleans skin without stripping | Switch to a cream or milky cleanser | Your skin feels tight after washing |
| Treatment (active) | Targets a specific concern (texture, breakouts, fine lines) | Use 2–3 nights a week, not nightly | Your skin is irritated or peeling |
| Hydrating serum | Adds water back into skin | Look for glycerin, hyaluronic acid, or panthenol | Your moisturizer already feels hydrating enough |
| Eye cream | Extra moisture for the thin eye area | A richer cream, or just your face moisturizer | You are happy using your regular moisturizer here |
| Moisturizer | Seals in moisture, supports the barrier | Switch from a gel to a cream with ceramides or squalane | — (never skip this in winter) |
| Face oil / occlusive | Locks everything in on very dry nights | 2–3 drops pressed over moisturizer | Your skin is oily or breakout-prone |
| Lip mask | Repairs chapped lips overnight | A thick layer every night in winter | — (cheap and worth it) |
Step 1: First cleanse — only if you need it
If you wore makeup or sunscreen during the day, start with a cleansing balm or oil. Massage it over dry skin, add a little water to emulsify, and rinse. This step dissolves the stuff a water-based cleanser struggles with, so your second cleanse can be gentle instead of aggressive.
If you wore nothing on your face all day, skip this step entirely. One cleanse is enough, and overwashing is one of the fastest ways to wreck a winter barrier.
Step 2: Gentle cleanser — the winter swap that matters most
Your cleanser sets the tone for the whole routine. In winter, swap foaming or gel cleansers for a cream, milky, or balm-to-milk formula. These clean just as well but leave your skin feeling comfortable instead of squeaky — and "squeaky clean" is a warning sign, not a goal. If your face feels tight within a minute of washing, your cleanser is too harsh for winter.
Wash with lukewarm water, not hot. Hot water feels wonderful on a cold evening and strips your skin's natural oils just as effectively as a harsh cleanser. Pat dry with a towel — do not rub — and leave your skin slightly damp for the next step.
Step 3: Treatment — one active, a few nights a week
This is the step beginners most often get wrong, usually by doing too much. A treatment is a product with an active ingredient aimed at a specific concern: a retinoid for texture and fine lines, salicylic acid for breakouts, an AHA like glycolic or lactic acid for dullness and rough patches.
The rules that keep this step safe:
- One active at a time. Do not layer a retinoid and an exfoliating acid on the same night when you are starting out. Alternate them on different nights instead.
- A few nights a week, not every night. Two or three nights a week is plenty for most beginners. Your skin needs rest nights — moisturizer-only nights — to recover, especially in winter.
- A pea-sized amount. More product does not mean faster results; it means more irritation.
- Buffer if you need to. If a retinoid stings, apply your moisturizer first, wait a few minutes, then apply the retinoid on top. This "sandwich" slows absorption and cuts irritation without cancelling the benefit.
If your skin is currently irritated, peeling, or sunburned, skip treatments entirely until it calms down. A damaged barrier plus an active is how a good routine turns into a bad week.
Step 4: Hydrating serum — winter's best friend
After cleansing, while your skin is still slightly damp, a hydrating serum is the easiest winter upgrade you can make. Look for glycerin, hyaluronic acid, panthenol, or beta-glucan on the ingredient list. These are humectants — ingredients that attract and hold water in the skin.
One honest note: humectants need moisture to work with. In very dry indoor air, a humectant serum on its own can actually leave skin feeling drier, because there is little moisture in the air to pull from. That is why the next step matters so much — always seal a hydrating serum with a moisturizer. Serum plus cream is the combination; serum alone is half a job.
Step 5: Eye cream — optional, and often skippable
The skin around your eyes is thinner and dries out faster in winter, so a little extra care here is reasonable. But for most beginners, your regular moisturizer works fine around the eyes too — a separate eye cream is a nice-to-have, not a necessity. If you do use one, dab a rice-grain amount around the orbital bone with your ring finger (the weakest finger, so you press least) and do not pull or drag the skin.
Step 6: Moisturizer — never skip this in winter
This is the non-negotiable step. In winter, most people should switch from a lightweight gel or lotion to a proper cream. Look for barrier-supporting ingredients: ceramides, squalane, cholesterol, or niacinamide. These help rebuild the skin's protective layer rather than just sitting on top of it.
Apply it while your skin is still slightly damp from your serum — damp skin absorbs moisturizer better than bone-dry skin. Use enough to cover your face and neck comfortably; if your skin still feels tight ten minutes later, you need a richer cream or a second thin layer, not a different serum.
Step 7: Face oil or occlusive — the winter-only extra
On the driest nights, or if your skin is flaky no matter what you do, press 2–3 drops of a face oil (squalane, jojoba, or rosehip are beginner-friendly) over your moisturizer as a final seal. Oil goes last because nothing water-based can sink through it — that is exactly why it works as a seal, and exactly why putting it on first would block everything else.
If your skin is oily or breakout-prone, skip this step. Your skin already produces its own seal, and adding oil on top can trap congestion. For dry and combination skin, though, this is often the step that finally ends winter flakiness.
Step 8: Lip mask — the cheapest win in the whole routine
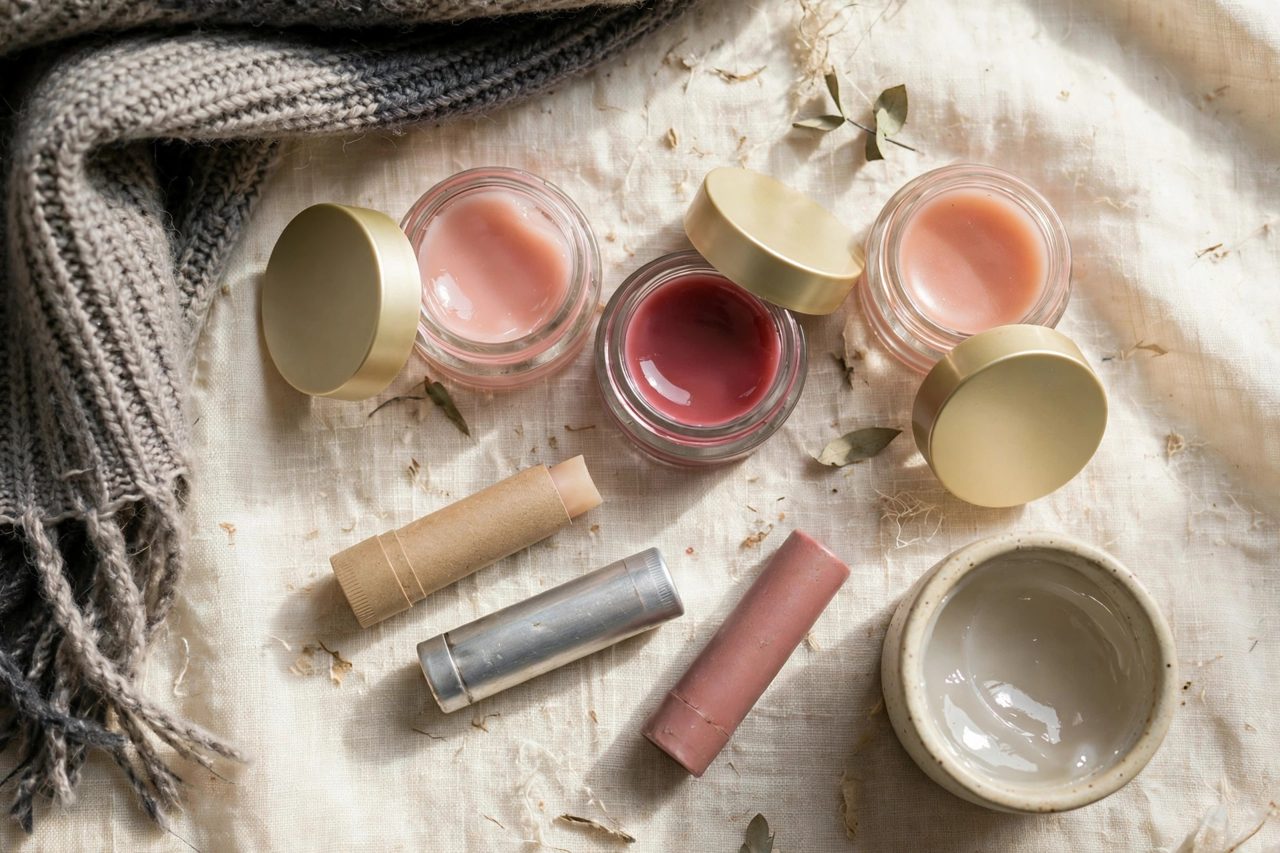
Lips have no oil glands of their own, so in winter they depend entirely on what you put on them. A thick lip mask or a layer of plain petrolatum before bed seals in moisture overnight and softens flakes by morning. It costs almost nothing and it is the one step you will notice the difference from by the very next day. For the full breakdown of which ones are worth it, see our guide to lip masks for chapped winter lips.
A sample week for beginners
You do not need a different routine every night. Here is what a realistic beginner week looks like:
- Monday: Cleanse, hydrating serum, moisturizer, lip mask.
- Tuesday: Cleanse, treatment (for example, a retinoid), moisturizer, lip mask.
- Wednesday: Cleanse, hydrating serum, moisturizer, lip mask. (A rest night.)
- Thursday: Cleanse, hydrating serum, moisturizer, lip mask.
- Friday: Cleanse, treatment (for example, an exfoliating acid), moisturizer, lip mask.
- Saturday: Cleanse, hydrating serum, moisturizer, face oil if needed, lip mask.
- Sunday: Cleanse, hydrating serum, moisturizer, lip mask. (A rest night.)
Notice the pattern: most nights are simple, treatments appear twice a week, and rest nights are built in. That is what a sustainable routine looks like — and sustainability is what actually improves skin, not intensity.
Sample routines by skin type
Dry skin
Double cleanse only if you wore makeup, then a cream cleanser, hydrating serum, a rich ceramide cream, and a few drops of face oil on the driest nights. Treatments twice a week at most, buffered with moisturizer if they sting.
Oily skin
You still need a PM routine in winter — skipping moisturizer makes oily skin produce even more oil to compensate. Use a gel-cream moisturizer instead of a heavy cream, skip the face oil, and keep treatments to 2–3 nights a week.
Sensitive skin
Keep it minimal: gentle cream cleanser, hydrating serum, and a fragrance-free barrier cream. Introduce one new product at a time, with at least a week between additions, so you can tell what your skin actually reacts to.
Combination skin
Use the dry-skin routine on your cheeks and the oily-skin routine on your T-zone — or simpler, use a medium-weight cream everywhere and add face oil only on the dry patches. You do not need two full routines.
Beginner mistakes that ruin a PM routine
- Starting three actives at once. Your skin cannot tell you which one caused the irritation, and you will end up dropping all of them.
- Exfoliating every night. Daily exfoliation thins the barrier and causes the exact redness and flaking people exfoliate to fix.
- Applying products to bone-dry skin. Slightly damp skin absorbs serums and moisturizers far better.
- Using hot water to wash your face. Lukewarm only — hot water strips oils and worsens winter dryness.
- Skipping moisturizer because your skin is oily. Dehydrated oily skin overproduces oil. Moisturizer is not optional for any skin type in winter.
- Expecting overnight results. Most products need 4–6 weeks of consistent use before you can fairly judge them. Changing products weekly means nothing ever gets a real chance.
When to get help instead of another product
Most winter skin trouble improves within a couple of weeks of a simpler, correctly ordered routine. But if you have persistent cracking, bleeding, swelling, or rashes that do not improve, or a skin condition like eczema or rosacea that flares in winter, a dermatologist is the right next step — not another product. This article covers general skincare information, not medical advice.
How we choose
We recommend routine orders by skin-barrier logic (cleanse gently, hydrate, treat sparingly, seal) rather than by brand or trend, and we favour fewer, proven ingredients — ceramides, glycerin, hyaluronic acid, squalane, and well-studied actives — over long ingredient lists. We note honestly where a step is optional, because a routine you actually follow every night beats a perfect routine you abandon after a week. No sponsored placements, no paid rankings.